Installing KODE OS
This page walks you through installing KODE OS on a Raspberry Pi 5. The flow as of v0.2.0-alpha is flash an image, boot, open a browser — there's no SSH, no installer to run, and no terminal needed.
If you bought a pre-built pebble from KODE NAS you can skip this page — your pebble already has KODE OS on it. Head to First boot setup.
Alpha software
KODE OS is currently v0.2.0-alpha. APIs, defaults, and the install path will change before v1. Only run it on hardware you can reflash.
What you'll need
- A Raspberry Pi 5 (4 GB or 8 GB). Pi 5 is the only board this release supports. Pi 4 lands in v0.3.0.
- A microSD card. 16 GB or larger. Class 10 / A1 or better — slow cards make first-boot painful. An M.2 NVMe via the Pi 5 HAT is a great upgrade if you have one.
- A USB-C power supply. The official Raspberry Pi 5 power supply (5 V / 5 A) is what we recommend. Underpowered supplies cause random reboots that are hard to diagnose.
- An ethernet cable. Wi-Fi works if you set the credentials in Raspberry Pi Imager's customization screen before flashing — but ethernet is faster, more reliable, and avoids one whole class of first-boot failure modes for v0.2.
- An SD card reader. Built into most laptops; otherwise a cheap USB one works fine.
- Another computer. Mac, Windows, or Linux — anything that can run Raspberry Pi Imager.
How the install works
KODE OS ships as a single flashable image. Inside is:
- Raspberry Pi OS Lite (64-bit, Bookworm) as the base.
- CasaOS (the OS engine KODE OS extends).
- The KODE OS dashboard pre-built and overlaid onto the CasaOS web root.
- The OLED display daemon for the optional Waveshare 2.08" SH1122 screen (hardware-gated — it doesn't run if no OLED is wired up).
- A first-boot service that runs once on first power-on: expands the root filesystem to fill the SD card, waits for real internet, bootstraps CasaOS, mints a random wizard URL token, shows the URL on the OLED + MOTD, then self-disables.
So the order of operations is: download image → flash → boot → open
the wizard URL. No SSH, no install.sh, no command line.
Installation steps
1. Download the image
Grab the latest release from github.com/KodeNAS/kode-os/releases. The file you want is named like:
About 475 MB compressed (~2.8 GB on the card after Raspberry Pi Imager decompresses it).
A .sha256 sidecar lives next to the image. Download both if you want
to verify the file before flashing — see Verifying the
image below.
2. Flash with Raspberry Pi Imager
Grab Raspberry Pi Imager from the Raspberry Pi website if you don't have it.
This will erase everything on the SD card
Flashing replaces the entire contents of the card. Double-check you're picking the right card in the imager — it's easy to pick a USB drive or an external disk by mistake.
- Open Raspberry Pi Imager.
- Choose device → Raspberry Pi 5.
- Choose OS → scroll to the bottom → Use custom → pick the
kode-os-v0.2.0-alpha-pi5-lite.img.xzyou just downloaded. - Choose storage → your microSD card.
- Next. When asked about OS customisation:
- If you're using ethernet: pick No, just write. The image
already has hostname
pebble, no usable login, and SSH off by default — the wizard creates your admin account. - If you're using Wi-Fi: click Edit settings, set your Wi-Fi SSID + password (and country). Leave hostname, username, and SSH alone — those are baked into the image.
- If you're using ethernet: pick No, just write. The image
already has hostname
- Confirm and wait. Flashing takes 3-7 minutes.
When the imager says it's safe to remove the card, eject it.
3. Boot the Pi
- Slot the microSD card into the underside of your Raspberry Pi.
- Plug an ethernet cable into your router or switch (or rely on the Wi-Fi credentials you set in step 2.5).
- Plug in the USB-C power supply.
First boot takes 3-5 minutes while the first-boot service runs. You'll see (if you have an OLED wired up):
- WAITING FOR NETWORK / Plug in Ethernet — only if internet isn't available yet. Plug in the cable and it'll auto-resume.
- SETTING UP / Expanding storage / step 1 of 3 — filesystem resize.
- SETTING UP / Installing CasaOS / step 2 of 3 (~2 min) — downloads + installs the CasaOS runtime over the network.
- SETTING UP / Almost done / step 3 of 3 — services starting.
- OPEN IN BROWSER / pebble.local / /#/wizard/<token> — the wizard URL is ready.
Without the OLED you'll get to the same place, just without the real-time progress indication.
4. Find the wizard URL
The wizard URL is a random token-protected path so a random LAN visitor can't race you to admin creation during the open window. You can find it three ways, in this order of preference:
- The OLED (if wired) shows the full URL in the final "OPEN IN BROWSER" frame.
- A monitor + keyboard plugged into the Pi shows the URL in the MOTD (the welcome banner printed on the login screen). You don't need to log in — just read the banner.
- Your router's admin page — find the device with hostname
pebbleand note its IP. Then openhttp://<that-ip>/and the router-side auto-redirect will land you on the wizard.
The simplest path that works for almost everyone is just:
Open that in any browser on the same network. The dashboard auto-redirects to the wizard URL once the first-boot service finishes.
5. Run the welcome wizard
The wizard walks you through:
- Setting an admin password for the dashboard.
- Naming your pebble.
- Adding family member accounts (optional).
- Picking which apps to install — photos, files, media, ad blocker, smart home.
- Choosing a dashboard layout.
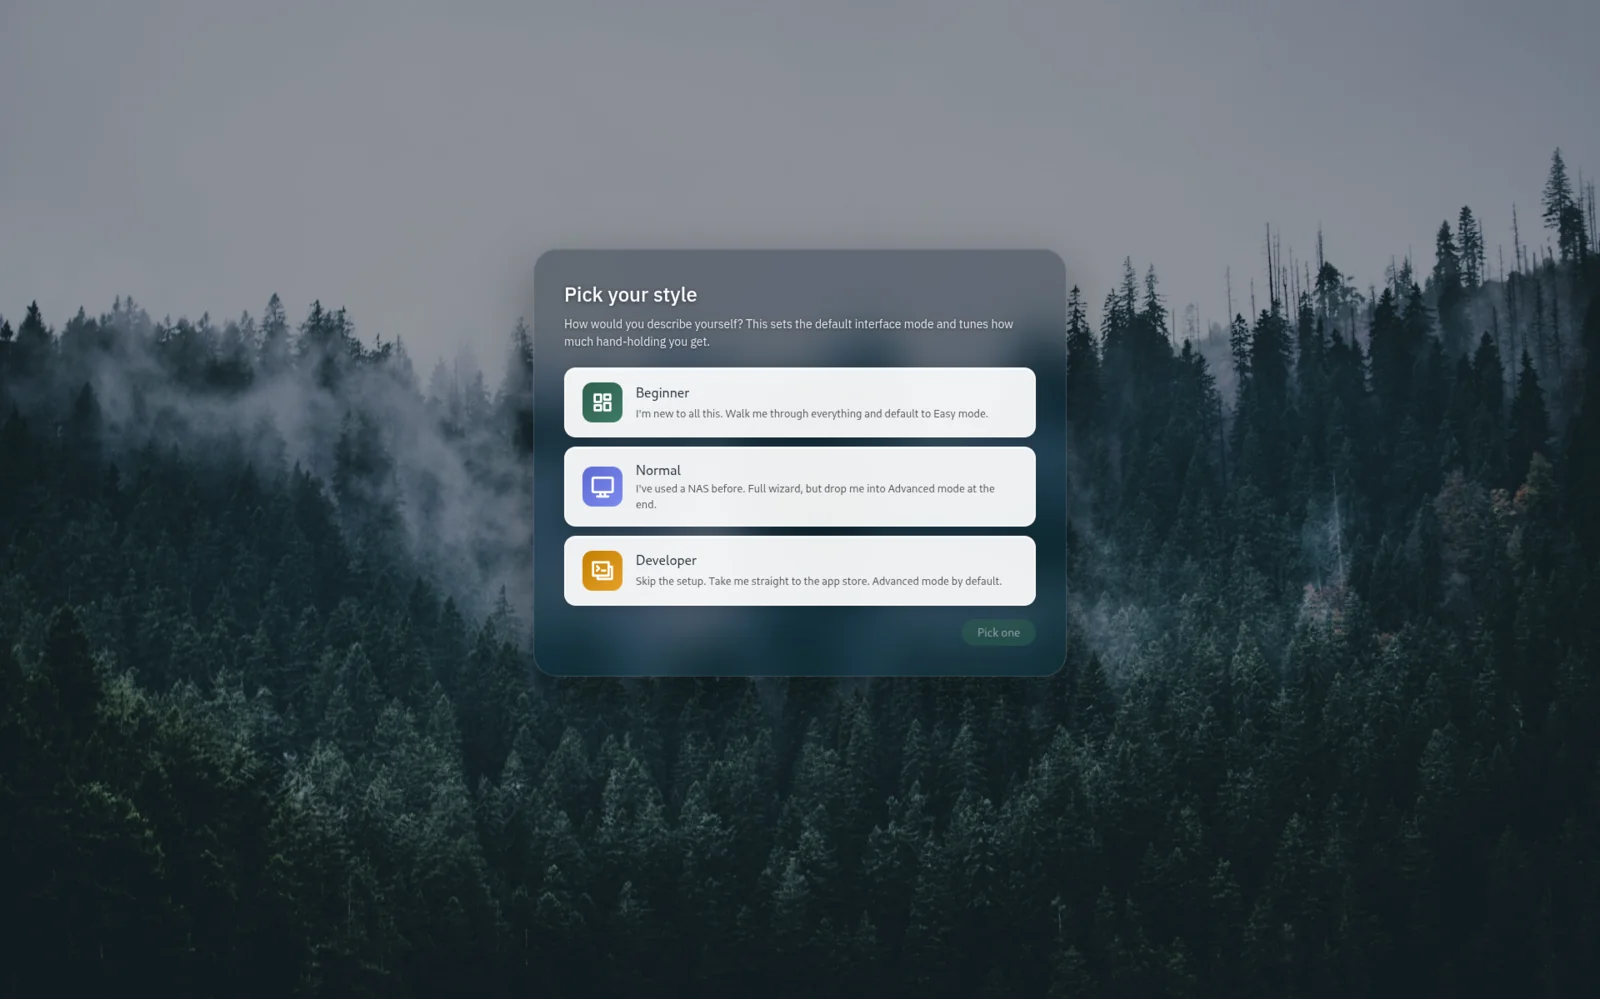
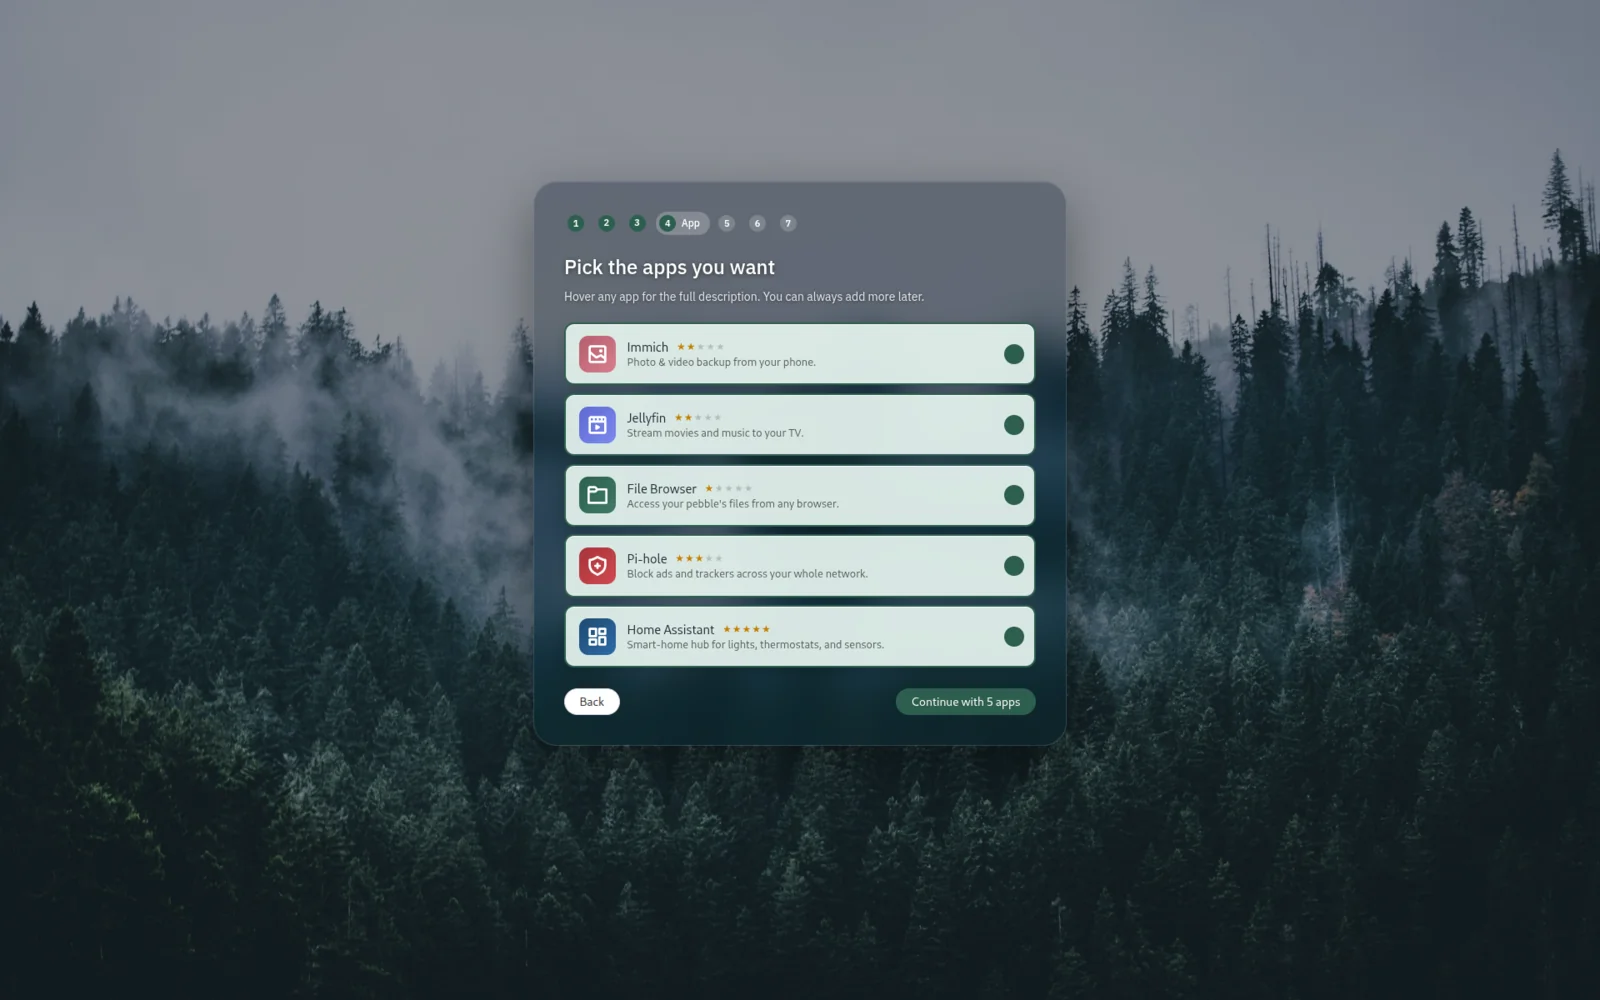
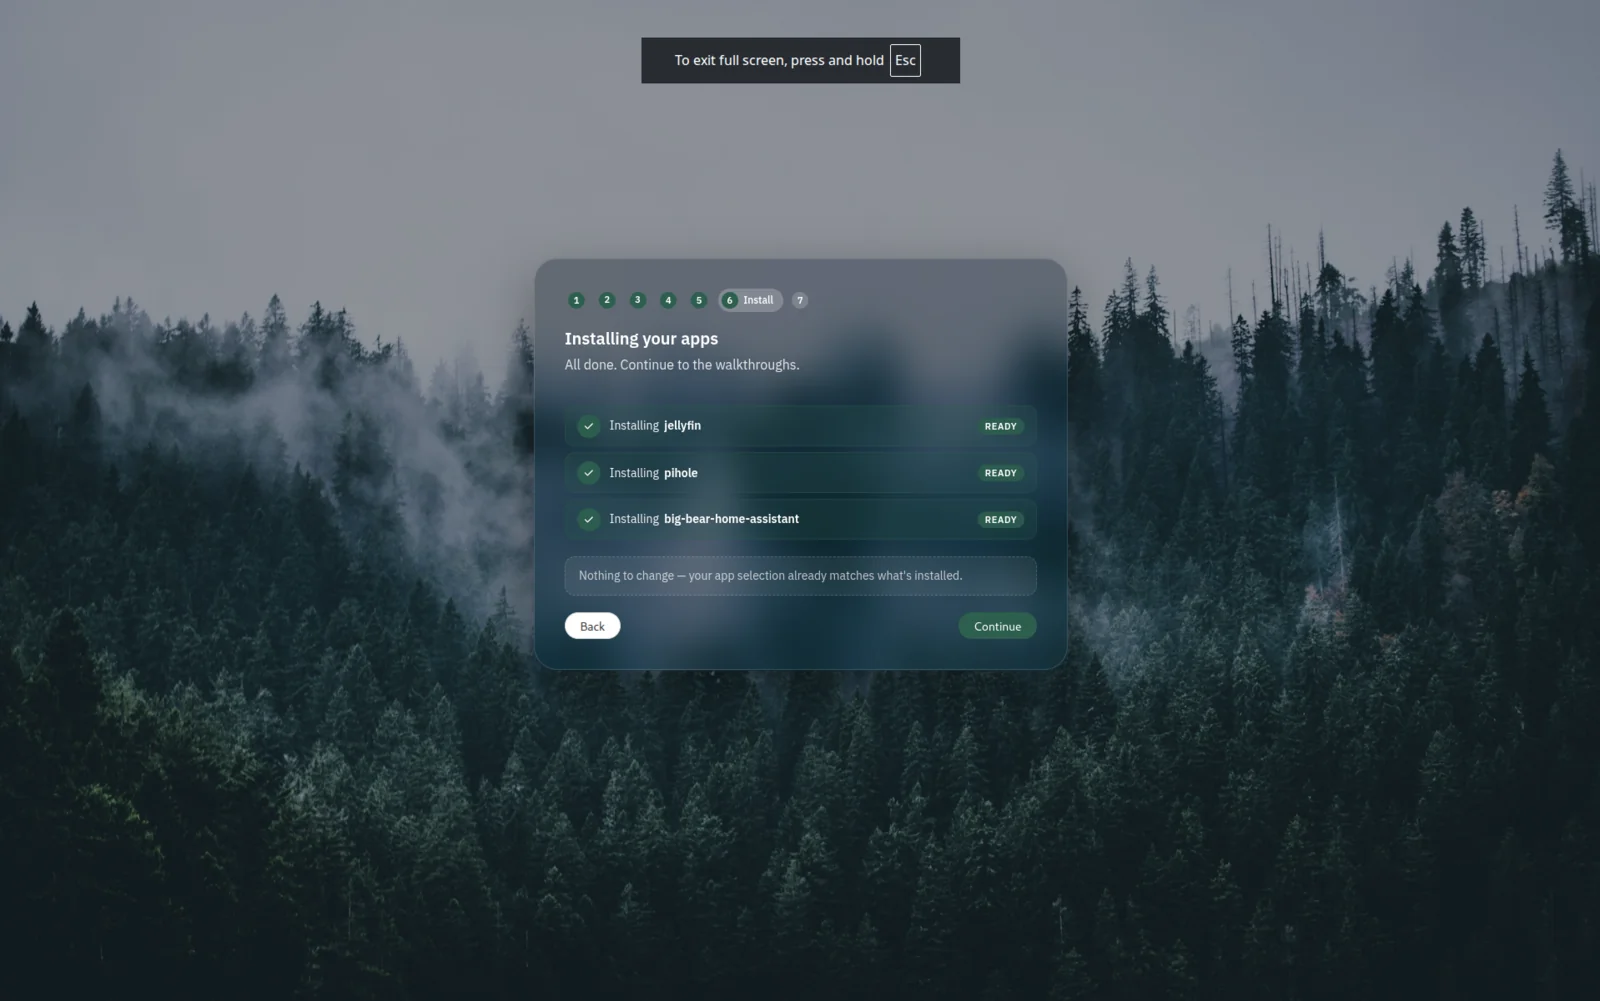
Take your time. None of it is permanent — you can change anything later from the Settings screen.
The wizard is covered in detail on the First boot setup page.
Verifying the image
Each release ships a .sha256 sidecar next to the .img.xz. After
downloading both into the same folder:
Expected output:
If you see FAILED or WARNING, your download is incomplete or has
been tampered with — re-download from the release page.
Next steps
You're done installing. From here:
- First boot setup — what the welcome wizard asks for, and why.
- File sharing (Samba) — connect to your pebble from your Mac, Windows PC, or phone.
- OLED display — if you have the screen accessory, customise what it shows.
- Troubleshooting — if anything looks wrong.
Building from source (developers only)
If you'd rather layer KODE OS onto an existing Pi OS Lite install instead of flashing the image — typically because you're iterating on the UI — the v0.1.x install script still works:
This path is for contributors. Buyers should flash the image.